
1. I made a silicone mold of a Alien versus Predator statue. I used the Art-Clay 2 part silicone molding compound set it around the head of the Predator statue and let it set for ten minutes.
2. Before I went to bed I pressed the Silver Clay into the firmly set mold.
3. After removing the dried clay from the mold in the morning; I sanded the back to a flat level plane. Then I set it on my finger just to get an idea of the size.
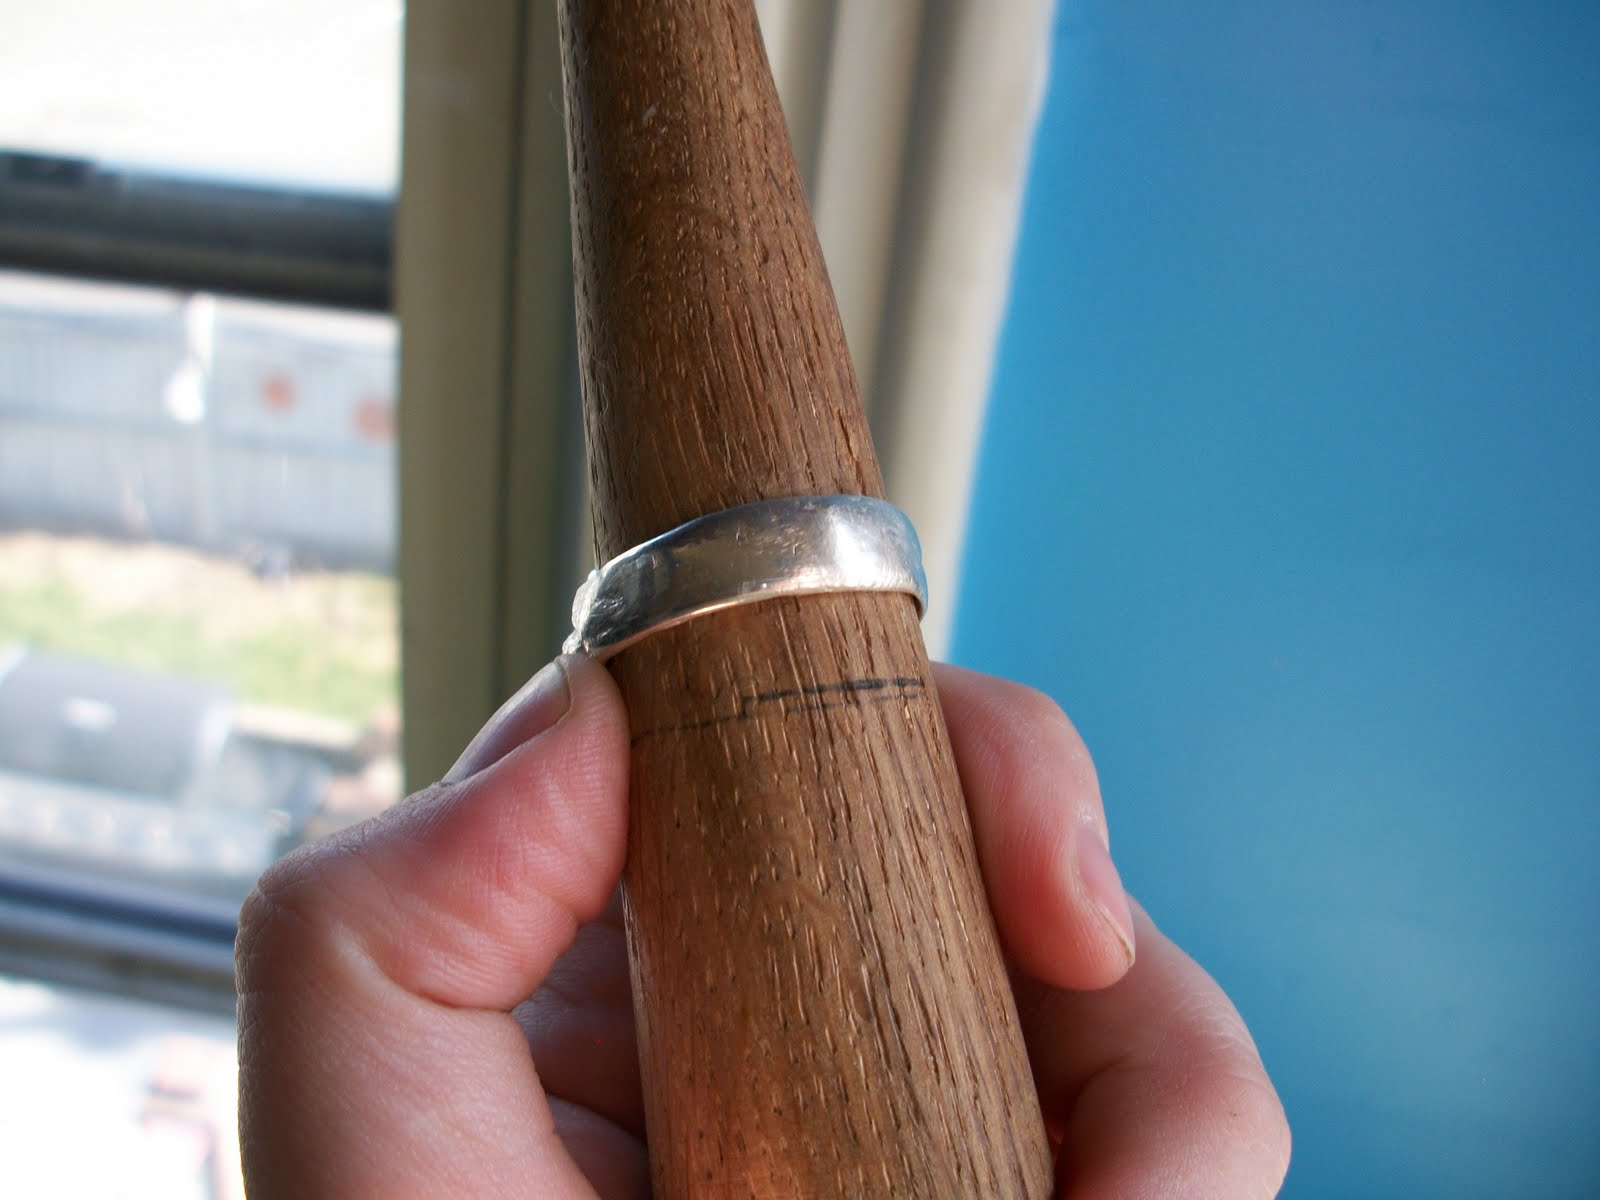
4. I set the Predator face onto the mandrel and added the Syringe clay around the mandrel to make the predators dreads and the ring itself. After I achieved the desired look I set it aside to dry for several hours.
5. I used the Silver Clay Paste to add more layers of silver to make it sturdier. Then set it on the Teflon covered mandrel to dry over night.
6. After letting it dry over night, I fired the ring for about Five-Ten minutes total and waited for it to cool.
7. Now I'd like everyone to repeat after me...
Always fire pieces on a study surface that doesn't sway and also,
If a freshly sintered piece happens to wobble and fall to the floor, make sure you grab it with your tweezers and not you fingers. Luckily it burned away the nerve endings in that area so it didn't really hurt so bad. That being said it itches something viscous. Live and learn and stop making novice/absentminded mistakes...
8. The last three steps are comprised of buffing out the matte whitish coating. Then I took a polishing cloth and buffed it to shine a little brighter. The very last step is to take the agate burnisher and rub out the brightest shine possible. I tried to take a little extra time with this last step because I really wanted to bring out the detail in the dreads, lower face and mask upper helmet parts. The scratch down the mask really had to pop for me so you could see it. If you look closely at the upper helmet you can see a very slight crack from the left across but I was really pleased with this as an after effect due to the fact that it looks like he got in a slammin' fight with an alien.
-WarmShade


I wanted to update on the predator ring! I did not sinter the ring long enough so the band cracked. I will do a new post when I fix it and show you guys the finished product and steps. Thanks guys Happy Widgetry!!
ReplyDelete