A little about me

I am here to bring you into my adventures in craftsmanship and widgetry. I enjoy bringing things into the world that display the many skills I have. I have been crafting most of my life and the little things i did when I was young that I thought were all inconsequential, are all melding into a wonderful blend of talent. I hope you enjoy the things I am sharing with you and look forward to posting as much as possible.

Followers

Friday, April 30, 2010

Adventures in Craftmanship! Jen's Birthday Set

This is Jen's birthday set. It's Purple and Pink Necklace and earrings . I made it to match her purple coach shoes and pink coach purse. The inner necklace is 14.5 inches long with a large silver toggle flower. The pendant hangs 1.5 inches and the drop on the earrings is 1 inch. It was fun to make this piece because I knew how much she would love it when I was making it.

I know Jen loved her set I'm glad I was able to give her something great for her birthday. Plus now I get to share it with you.
-Warmshade


Friday, April 23, 2010

Adventures in Craftmanship! Justin, Tyler's and Paul's Christmas Stockings

I made these stockings when we lived in Middleboro 4 years ago. We had two flat mates. One really loves Spiderman and the other loves dragons.
I had made the Blue flame stocking the year before for Paul. It has silver quilting stitches throughout.
Justin Loves Dragons so his is the red flames with the dragons flowing through it.
Tyler's is the Spiderman one and both of these had a black quilt stitching. They took my about a day to do and it. Having these made it complete on Christmas morning when I got to sit next to the tree and pass out gifts I had stuff to give them. They were both writers so I filled them with pens and index cards, coffees and teas, and some candy.
I had fun making them I hope you guys enjoy them as much as I did.
-WarmShade


Thursday, April 22, 2010

Adventures in Crafting! Tatu's Party masks and jewelry set!

I was asked by a coworker to make some masks for her cousins pre-deployment hurrah. It was a party that had a masquerade, peacock, almost Mardi Gras theme. It was quite fun with the planning and the ideas.
Overall I made about 40 custom masks in various shapes and sizes. All containing various types of feathers, sequins, glitters and paints. I made a custom all peacock feather mask and matching custom necklace and earrings. The custom necklace and earrings are made with a wire jig and a coiler. I tore one peacock feather into individual pieces and added those as accent to the larger beads in the necklace and coiled wire in the earrings.
In addition to my mask making activities, I was also asked to make chocolates with the accenting colors as I had no assistance with this particular endeavor. I found a quick shortcut in purchasing the small individually wrapped Snickers bar and simply drizzling them in coordinating color melted chocolate. It gave for a personal touch with the color. I opted to carry them in rows stacked between layers of parchment paper so as not to maim the chocolate drizzles. Then they were gently transported to a serving pan.
I also took staged photographs of Tatu and the various attendees of the party. I made a display backdrop with tulle, lights, peacock feathers and a dyed sheet. Many portraits were taken in front of the back drop and everyone really had fun with it. Also many candid photos were taken as well.
This project was a three day three night extraordinaire for me. I was up for about 60 hrs with about an hour of sleep a day in there somewhere. I don't know how but I powered through and I thoroughly enjoyed being a part of the affair.
-Warmshade


Adventures in Widgetry! Grandpa's Shadow Boxed Set

Welcome back to my adventures in Widgetry! I have this very special project to share with you today.
"Who knows what evil lurks in the hearts of men?
The Shadow Knows!"
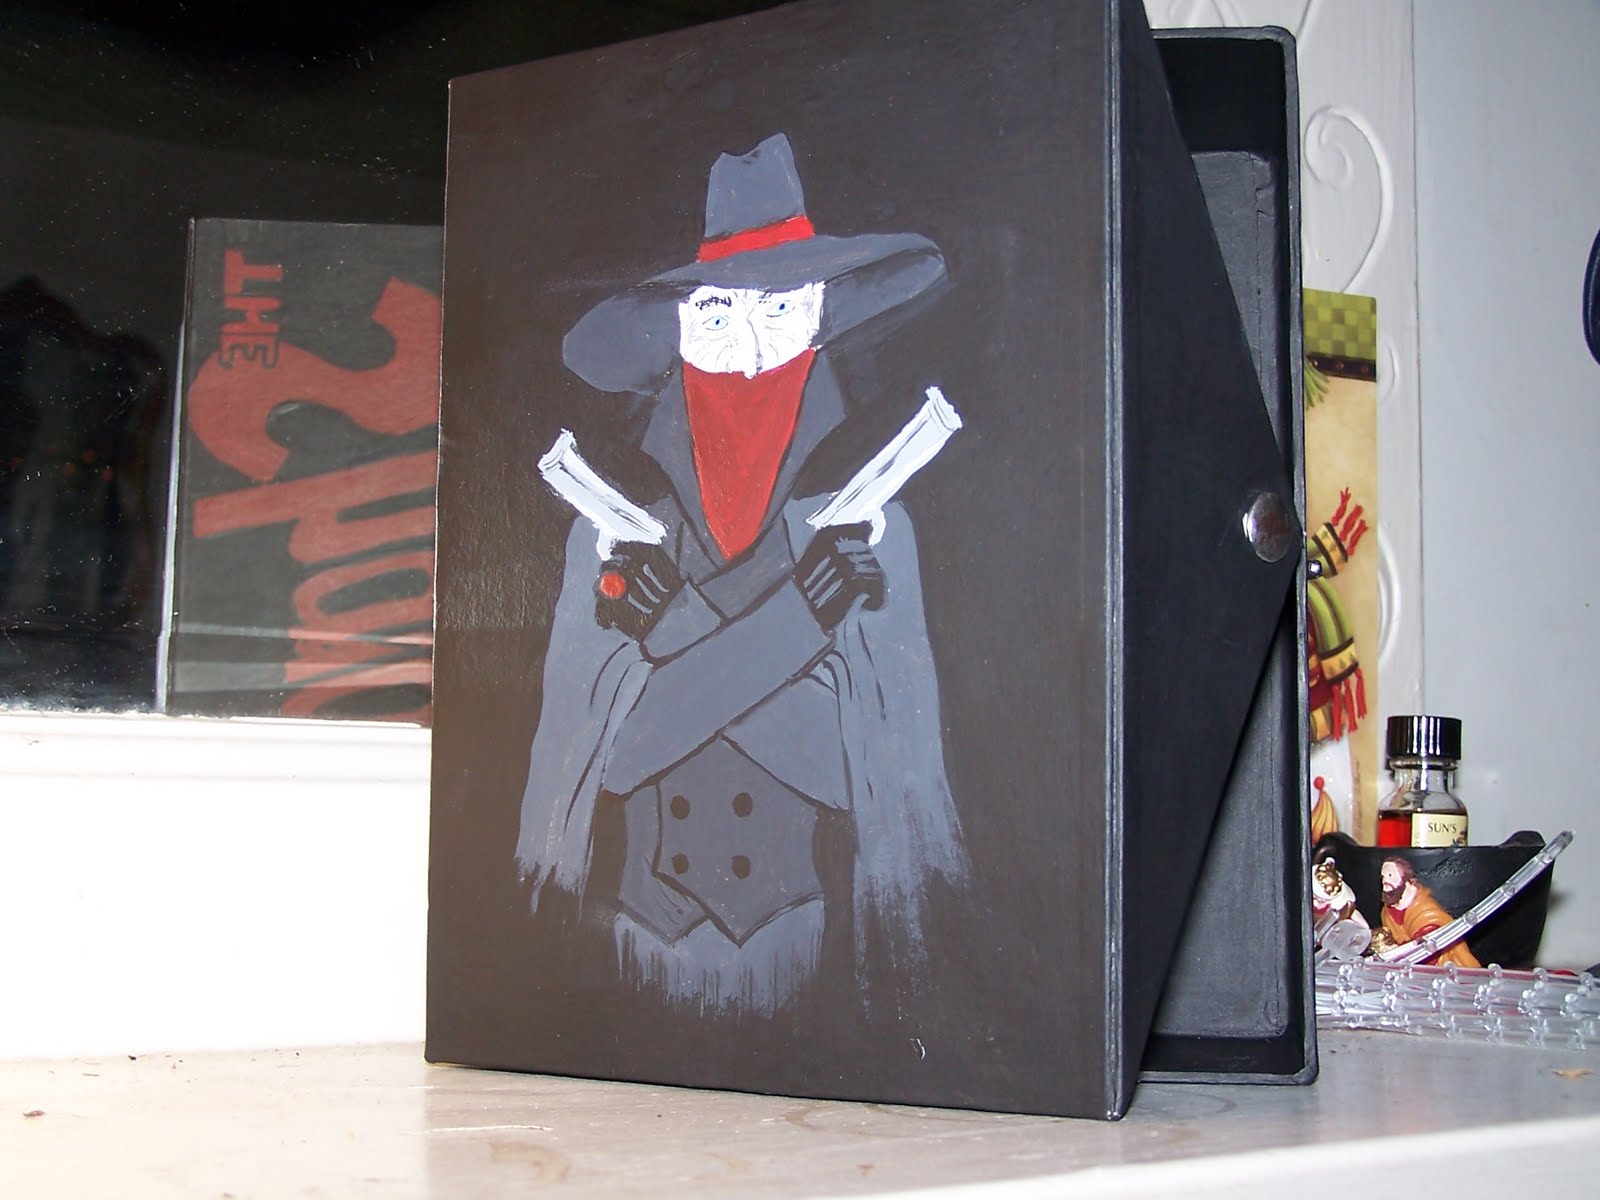
I made this Shadow Boxed set for my Grandpa for this past Christmas. He adores the old scary movies so I figured What better than a custom made "The Shadow" Complete Series Box Set.
I got together all the cd's of the series I needed and put them into jewel cases. I also purchased a copy of the dvd for the set as well.
I went to my local craft store and bought an 8" X 6" X 2.5" Snap closed paper mache box. I started by painting it with several coats of black acrylic paint to give it a really deep rich color.
-On a side note if you are going to attempt a project in painting one of these boxes make
sure you paint any folding seams both open and closed as this will cover if
the hinge paint cracks.
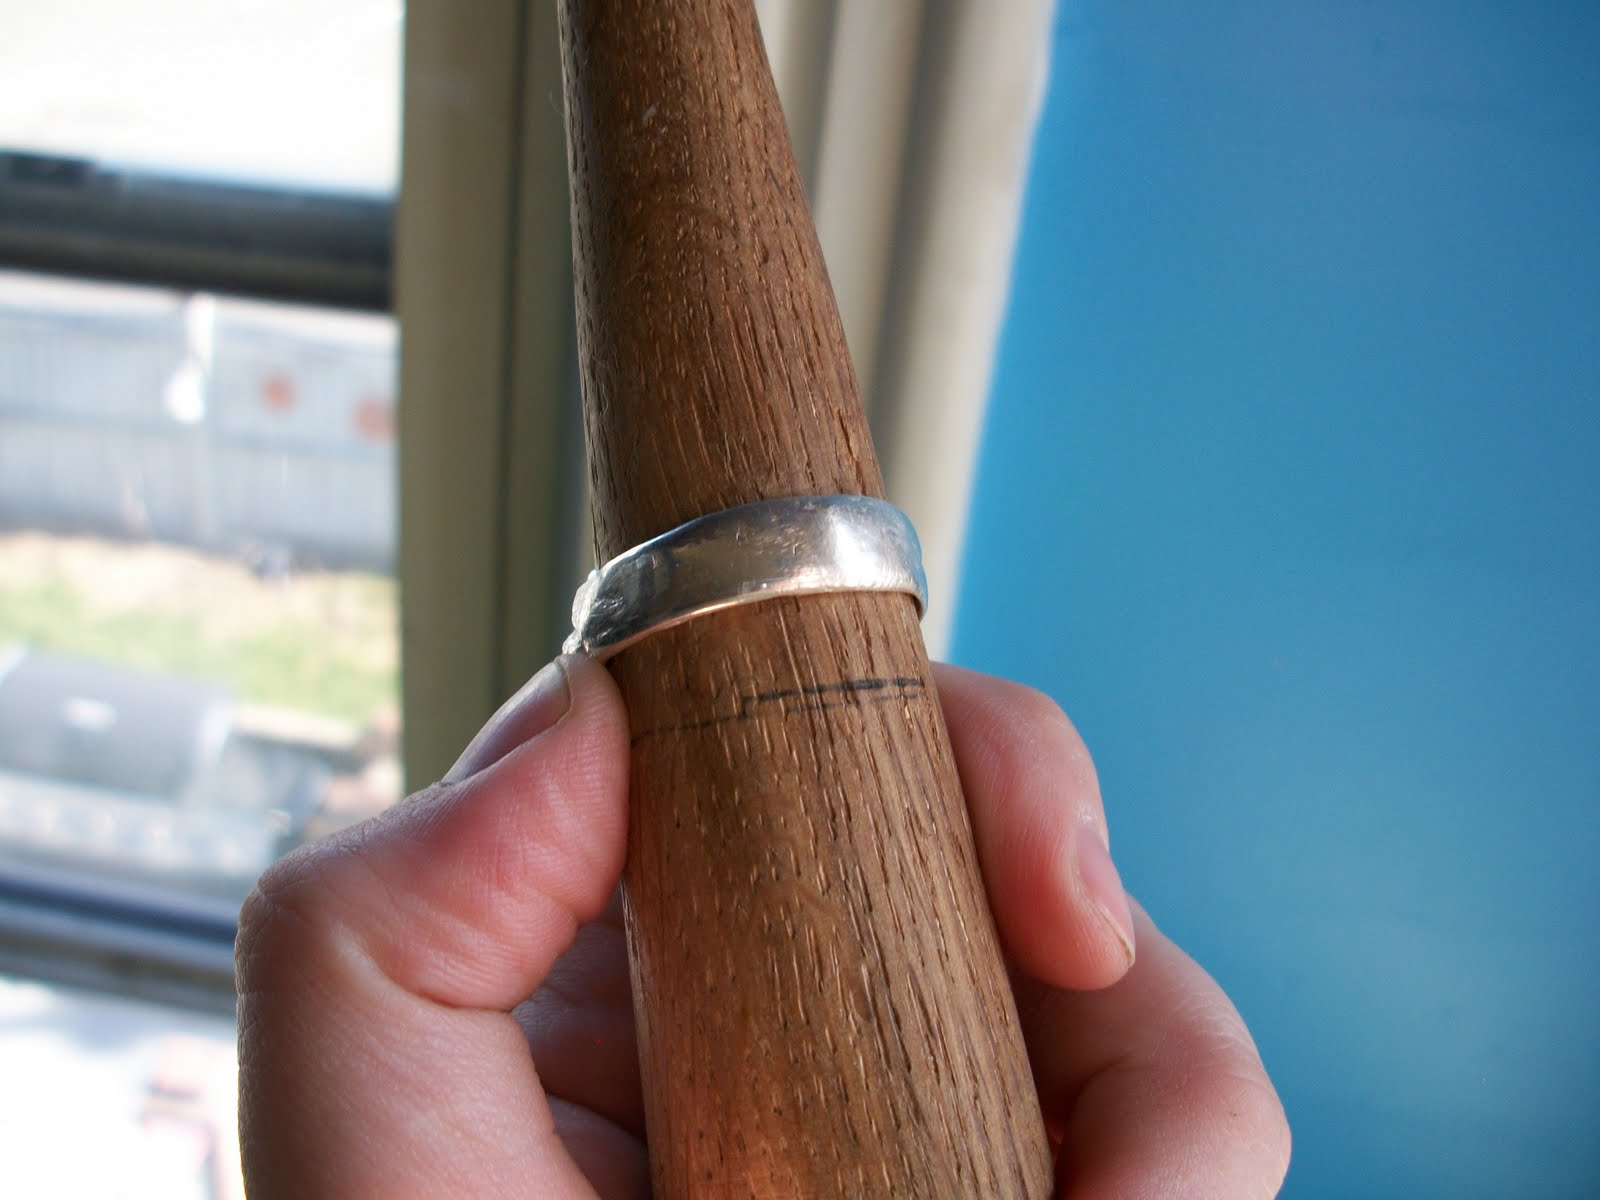
Back to the box...I went online and looked up several pictures of memorabilia of "The Shadow"and decided on a shot of bust of "The Shadow". I chose it for its clear representation as well as the fact that you could see his ruby ring. I did a rough sketch of the bust on the cover of the box and the did the outline for the writing on the binging edge. I then commenced with the painting in shades of gray, black, white and red.
And this is the stage that it was photographed in. I did add a coat of acrylic satin varnish finish to seal it from any damage. Those shot however came out like crud so I chose not to include them. It was a total of five jewel cases. It came together perfectly and it was for a really special guy. Love you, Grandpa.
-WarmShade


Monday, April 12, 2010

Adventures in Craftsmanship! Ms. Silva's Full Moon Necklace Set

So a few months ago Ms. Silva approached me about a custom necklace set to match a pendant that she already owned. The pendant was a small dichroic crystal heart that had green, silver and clear colors. She emailed me a picture of it next to a nickel(for size gauging). I had some extra green beads left over from a prior project and was just waiting to find some thing to do with them. I used silver accenting and the Full Moon faces to really pull the peace together. The larger green beads have an AB coating that really pull the two colors together in the darker green seed beads which also have the AB finish. I hope you guys enjoy this peace because Ms. Silva loves it and I definitely enjoyed making it.


Friday, April 2, 2010

Adventures in Widgetry! Predator Ring

So my four day adventure into the world of Art-Clay was completed recently; I finished a Predator ring for my partner Paul. I have yet to weigh it but I used about 11gms of Silver Clay, 2gms of Syringe Silver, and 1gm of Silver Paste.


1. I made a silicone mold of a Alien versus Predator statue. I used the Art-Clay 2 part silicone molding compound set it around the head of the Predator statue and let it set for ten minutes.

2. Before I went to bed I pressed the Silver Clay into the firmly set mold.

3. After removing the dried clay from the mold in the morning; I sanded the back to a flat level plane. Then I set it on my finger just to get an idea of the size.

4. I set the Predator face onto the mandrel and added the Syringe clay around the mandrel to make the predators dreads and the ring itself. After I achieved the desired look I set it aside to dry for several hours.

5. I used the Silver Clay Paste to add more layers of silver to make it sturdier. Then set it on the Teflon covered mandrel to dry over night.

6. After letting it dry over night, I fired the ring for about Five-Ten minutes total and waited for it to cool.

7. Now I'd like everyone to repeat after me...
Always fire pieces on a study surface that doesn't sway and also,
If a freshly sintered piece happens to wobble and fall to the floor, make sure you grab it with your tweezers and not you fingers. Luckily it burned away the nerve endings in that area so it didn't really hurt so bad. That being said it itches something viscous. Live and learn and stop making novice/absentminded mistakes...

8. The last three steps are comprised of buffing out the matte whitish coating. Then I took a polishing cloth and buffed it to shine a little brighter. The very last step is to take the agate burnisher and rub out the brightest shine possible. I tried to take a little extra time with this last step because I really wanted to bring out the detail in the dreads, lower face and mask upper helmet parts. The scratch down the mask really had to pop for me so you could see it. If you look closely at the upper helmet you can see a very slight crack from the left across but I was really pleased with this as an after effect due to the fact that it looks like he got in a slammin' fight with an alien.

-WarmShade